One of the great things about Dungeons & Dragons 5E is that it is supposed to be backwards compatible with older D&D modules (with some conversion work, of course).
I converted a couple of older adventures during the D&D Next playtest and found it to be pretty simple and straightforward. Conversion basically consists of taking the monsters in the adventure and using the same or equivalent monsters from the 5E Monster Manual, converting any checks and saving throws to the 5E ability checks system, and setting appropriate DCs based on the 5E DC tables in the Dungeon Master’s Guide. In some cases, monsters in older editions were either more or less powerful than they are in 5E, so this is something that has to be considered, too, otherwise a battle could be too hard or too easy based on just using the same monsters with the newer stats and rules. Keeping the encounter building guidelines in mind (using monster challenge rating and XP scores) also helps a great deal toward converting encounters in old modules to be balanced with 5E rules.
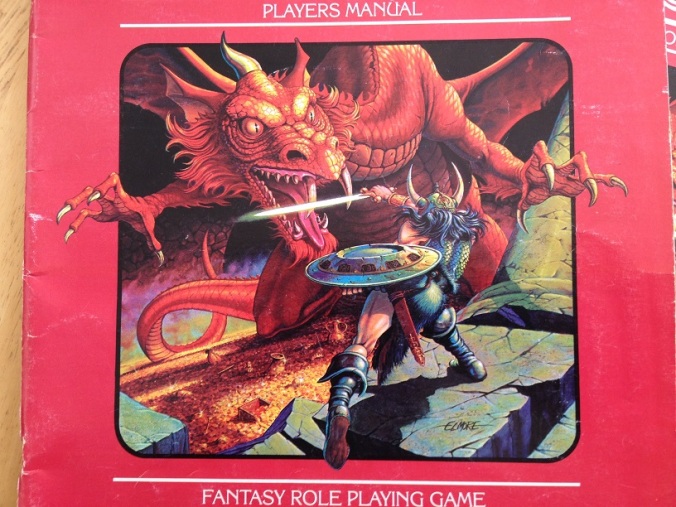
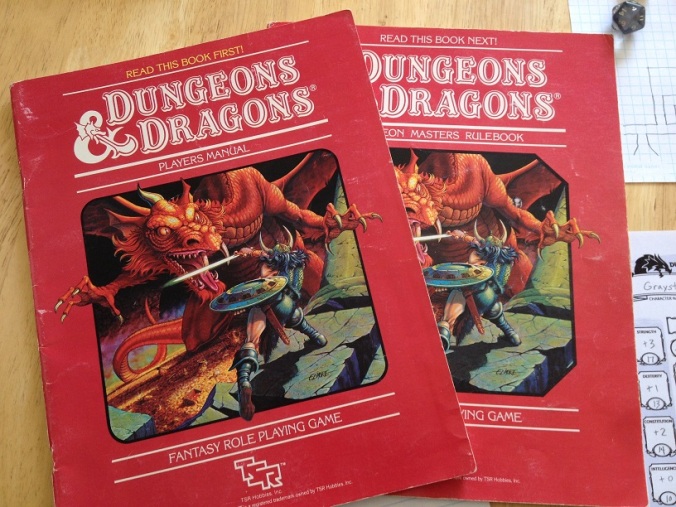
Many of us had our first foray into dungeon territory with the D&D Basic Set 1 (also known as the “Red Box”).
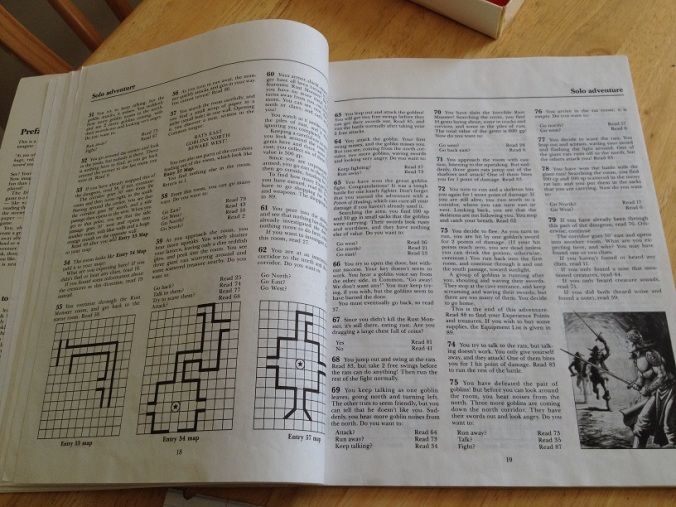
I decided that I’d give the classic Solo Adventure from the 1983 Red Box a try with 5E rules to see how it would fare.
Since I was going to be using 5E monster stats, and since the original adventure was written specifically for a fighter, I rolled up a new character (using roll 4d6 and dropping the lowest for stat generation) rather than trying to create a character based specifically on the fighter stats in the Red Box solo adventure.
What I found was that playing the module as written was extremely deadly for a single fighter. To get a good balance, I had to throw out the number of creatures listed in the text and instead populate encounters with a number of creatures based on the 5E encounter building guidelines. I ended up having to go through the adventure 3 different times to completely explore the cave and get back to town alive.
Spoiler Alert: If you haven’t played this adventure and you don’t want to be spoiled, it’s probably a good idea to stop reading now.
Here is what happened on each try:
First Attempt:
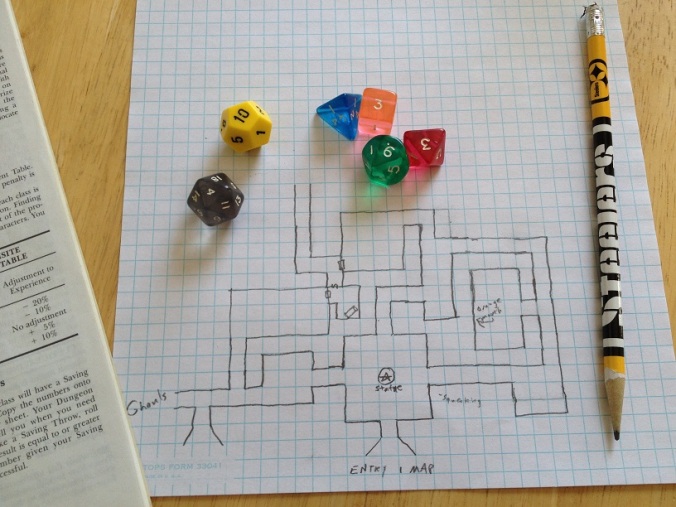
My first attempt didn’t go well. I made it through the entry room that contains a statue of a woman wearing armor, which isn’t surprising since there are no traps or monsters here, and not making it through this room would have been embarrassing, even if only to myself. This room has exits in each direction (one north, one east, one west, and one south, which is where I entered the cave from). I found a note that provided vague clues about what might be in each direction. I ended up going north into a room where I encountered 3 Goblins. If you’re familiar with this adventure, you know that the text never really gives you a chance to retreat from battle, so I ended up fighting. I rolled initiative using 5E initiative rules and proceeded to battle. I was at 0 hit points within just a couple of rounds and had only killed one of the three goblins. I went ahead and made my death saves 5E style, but rather than try to role play that the goblins tied me up instead of just killing me outright, I ended the adventure here and decided to start over.
Second Attempt:
I thought that even though three goblins vs. one PC is listed as a “deadly” encounter in the 5E encounter chart (especially considering the multiple monster multiplier), I’d give it another go based on monsters as written, but try a different path. This time, instead of heading north to the goblin area, I decided to go east. The note I had found said that there were “squeaking” sounds coming from that direction. I ended up surprising a trio of giant rats. With surprise on my side, and with the rats being a lesser challenge than the goblins, I was able to win this encounter without too much trouble. I left the chamber and headed north. Along the way, I found a room with a giant mouth on one wall. The mouth posed a riddle to me and I was able to double all of the treasure I was carrying because of solving the riddle. I then left the room and proceeded north again, only to wind up back in the goblin chamber. But this time, one of the goblins ran off, leaving only 2 goblins for me to fight. I barely won the fight, and had to use my Second Wind ability to regain hit points during the battle. When I tried to leave the room, the goblin who had run away showed up with two more goblins. I tried to run away but was hit and ended up being forced to fight. I didn’t make it past round two of the fight. As with the first time, I again tried to make my death saves, just to see what would happen. I made the saves, but ended the adventure there.
Third Attempt:
On this attempt, I completely disregarded the listed number of monsters in the adventure and based the number used on the “medium” and “hard” encounter guidelines from the 5E DMG. Using this method, I was able to explore the entire cave and defeat all of the monsters. To do so, I had to use a Potion of Healing (provided at the beginning of the adventure) and I had to take a short rest, which allowed me to recover my Second Wind ability once. The toughest part of the adventure was in a room that is home to a rust monster. The rust monster, who we’ll call Hank, has a Challenge Rating of 1/2 and an XP score of 100, which is listed as deadly for a single character. But, thanks to some lucky dice rolls and the fact that the rust monster used its antennae attack part of the time (yes, rusting my armor and sword, giving them each a -1 penalty), I was able beat him (or her, I forgot to roll it over and check. I guess it could have been a Henrietta instead of a Hank).
Overall, it was a fun test of the 5E rules with an older adventure. The biggest thing I learned is that the encounter difficulty guidelines are just as important (or maybe even more important) to follow as are converting monsters stats and check DCs. Once I did that, I felt like the adventure was still challenging, and that my character could have still really died, but that I also had a chance. Using the monster numbers as written made the adventure next to impossible.
If you have some old 1E, 2E, or BECMI modules that you’d like to try again, I wouldn’t hesitate to try running them with the 5E rules. Once you get the hang of it, it’s pretty easy to convert on the fly without even having to spend much prep time.
Thanks for taking time to read about my fight with some rats and goblins, and about the demise of poor Hank (or Henrietta).


Pingback: Delay of D&D 5E Conversion Guide Explained | Guitars & Gaming
Pingback: The thirty by thirty foot room – frogphilp.com
Hi. I like your blog! I’ve used your photo on my blog here: http://frogphilp.com/blog/?p=1779 – hope you don’t mind (I credited you at the bottom of the post). Problem is I’ve lost my original red books and your photo was the first I could find (blogging about gaming isn’t my normal thing).
LikeLike
That’s fine 🙂
LikeLike